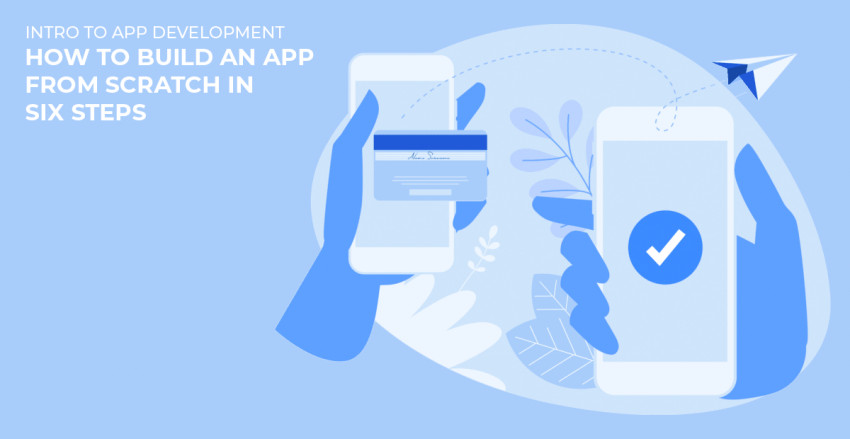
Why Should I Make My Own App?
A study by NPD Group found that 78% of consumers use their mobile devices to look up a local business within a day of searching for a product or service online. If you're not sure about creating your own app, then it might be helpful for you to learn why it's worth it. In summary: 81% of mobile users who have apps installed say they use them at least once per week. 84% of mobile app users make purchases through their apps each month. The average amount spent is $55.01 per user and up to $300 in some industries (travel, media & entertainment). Those are pretty good numbers!
For More Details Check our link: Learn How to Create an App from Scratch in 9 Easy Steps
Step 1: Get Familiar With Android Studio
Android Studio is a free integrated development environment that makes it easy to build apps for Android. Whether you're new to Android or are just getting started with Android development, working with Android Studio is a must. It includes powerful tools and wizards that can help you build your app efficiently and effectively. Start by downloading Android Studio, which includes all of its components, including The Java code editor; The Gradle tool, which lets you run your app on multiple devices without building it individually; The Android Virtual Device (AVD) Manager; An editor for XML resources files that can be included in your app's source code; And more! Follow these steps for a brief introduction to how to get started using Android Studio.
Step 2: Create Your Design Sketches
So, you have a business idea. You've already done your research and identified what products and services are needed in your market. Now it's time to build your app idea! The first step is creating designs for your user interface. Even though all of our screens will be built through code, later on, it's important to get a visual feel for how users will interact with each screen before we do any actual coding. When designing for mobile platforms, making use of platform-specific features like Touch ID (on iOS) or device sensors can make screens easier and more intuitive for users to interact with them.
Step 3: Create the User Interface
Once you’ve got a working model of your app, it’s time to create a user interface for it. You could use something like Microsoft Paint or GIMP, but for ease of use, you’ll probably want to consider using an interface builder instead. There are plenty of great options out there—just check out Appcelerator or MIT’s App Inventor (for Android apps) or TryRuby (for iPhone apps). The tutorials for each site walk you through building your app step-by-step. You can expect to spend anywhere from a few hours to a couple of days putting your UI together. However long it takes, though, don't worry if your app looks more like a first draft than a finished product at first.
Step 4: Connect the UI with the Backend Code
Now that we have a functioning UI, we need to connect it with our backend code. We’ll do that by adding routes and controllers. Backend code is simply a fancy way of saying our app’s functionality. It can take many forms, but at its core, it will be written as PHP scripts. In general, you should use Laravel for your backend (and frontend) development because it saves time and resources when compared with building a separate CMS and standalone application. As mentioned earlier, Laravel offers an excellent template engine called Blade that makes writing templates simple; however, you can always fall back on Twig if you prefer it over Blade.
Step 5: Test, Test, Test, and Test Again!
Once you’ve written your app, you’ll want to test it—probably more than once. Most of us make updates based on what we think is broken and then test again to see if our fix worked. But it’s a good idea to go a step further and run your app through automated testing tools. Web developers have had access for years now to testing tools that help them catch problems before their apps go live. It can be a big timesaver, so don’t forget about it! It will also make your life easier in other ways by allowing you easy access at any time via remote control software or app access.
Step 6: Publish It on Google Play Store
Once you've finished your app, it's time to publish it on Google Play. This step requires some knowledge of HTML and CSS since you will have to upload an HTML file. The good news is that you can easily find someone who can do that for you at a reasonable price (about $25). Just make sure they know what they're doing because once your app is published on Google Play, there's no going back. You will also want to check out other android development guides which will give you tips on how to promote your app and drive traffic to it. This way, even if your app isn't very good, you can still sell a decent amount of copies as long as your marketing skills are up-to-par.