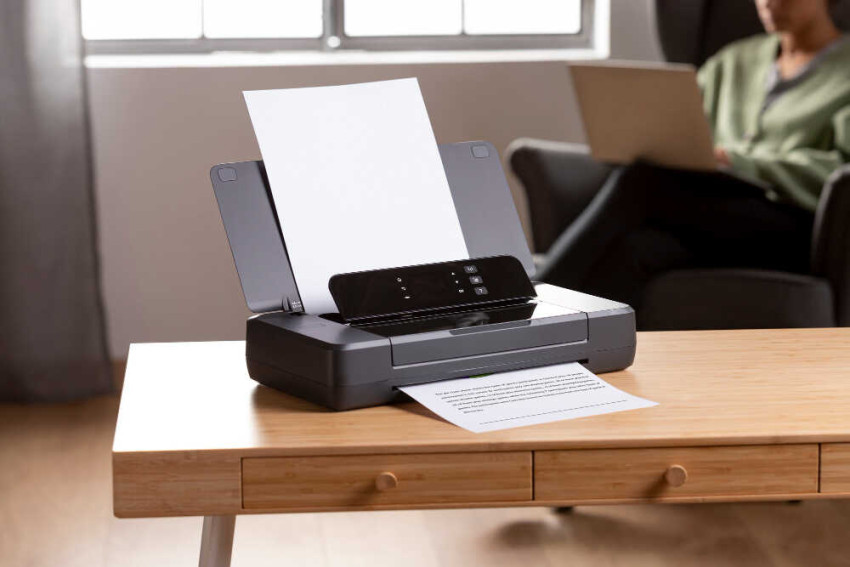
If you have a Brother HL-2270DW printer and want to enjoy the convenience of wireless printing, you might be wondering how to set it up. In this blog post, we will show you how to connect your printer to your wireless network using different methods, and answer some frequently asked questions about the wireless setup process.
What You Need to Know Before Setting Up Your Printer
Before you start setting up your printer, you need to know some information about your wireless network, such as:
- The network name (SSID or ESSID)
- The network key (password, security key, or encryption key)
- The wireless mode (WPS or AOSS™) supported by your router or access point
You can find this information on the side or bottom of your router or access point, or in the documentation provided by your internet service provider or router manufacturer. If you still cannot find the information, you can contact your router manufacturer, your system administrator, or your internet service provider for assistance.
You also need to make sure that your printer and your computer are turned on, and that you have a USB cable handy. You will need the USB cable temporarily to configure the wireless settings of your printer.
Method 1: Using the Wireless Setup Wizard on the Brother Installer Application
This method is recommended if you have the installation CD-ROM that came with your printer, or if you have downloaded the full driver and software package from the Brother website. This method uses the wireless setup wizard on the Brother installer application to guide you through the wireless setup process.
To use this method, follow these steps:
- Connect the power cord to your printer and plug it into an electrical outlet. Do not connect the USB cable yet.
- Insert the installation CD-ROM into your CD-ROM drive, or run the downloaded file from the Brother website. The installation screen will appear automatically.
- Choose your language and click Install Printer Driver. Click Yes to accept the license agreement.
- Click Yes, choose Wireless Connection, and click Next.
- Select Brother Peer-to-Peer Network Printer and click Next.
- When prompted, connect the USB cable to your printer and your computer. Click Next.
- The wireless setup wizard will search for the available wireless networks and display them on the screen. Choose your network name from the list and click Next.
- Enter your network key and click Next. The wireless setup wizard will apply the wireless settings to your printer.
- When the wireless setup is complete, disconnect the USB cable and click Next.
- Choose the printer from the list and click Next. The printer driver will be installed on your computer.
- Click Finish to complete the installation.
You can now print wirelessly from your computer to your printer.
Method 2: Using the Wireless Setup Wizard on the Printer Control Panel
This method is recommended if you do not have the installation CD-ROM or the full driver and software package, or if you want to set up your printer without using a USB cable. This method uses the wireless setup wizard on the printer control panel to connect your printer to your wireless network.
To use this method, follow these steps:
- Connect the power cord to your printer and plug it into an electrical outlet.
- Open the printer’s front cover and press and hold the WLAN button for two seconds. The WLAN LED will start blinking.
- Press the Go button 10 times. The printer will print the network configuration page, which shows the current wireless settings of your printer.
- Check the IP address on the network configuration page. If the IP address is 0.0.0.0, the printer is not connected to the wireless network. Proceed to the next step. If the IP address is not 0.0.0.0, the printer is already connected to the wireless network. You can skip to step 9.
- Press the Go button three times. The printer will print the WLAN report, which shows the wireless mode (WPS or AOSS™) supported by your router or access point.
- Depending on the wireless mode of your router or access point, do one of the following:
- If your router or access point supports WPS, press and hold the WLAN button on the printer for two seconds. The WLAN LED will start blinking. Within two minutes, press the WPS button on your router or access point. The printer will automatically connect to the wireless network.
- If your router or access point supports AOSS™, press and hold the WLAN button on the printer for two seconds. The WLAN LED will start blinking. Within two minutes, press the AOSS™ button on your router or access point. The printer will automatically connect to the wireless network.
7. Wait until the WLAN LED stops blinking and stays on. This indicates that the wireless setup is successful.
8. Press the Go button 10 times. The printer will print the network configuration page again, which shows the new wireless settings of your printer.
9. Download the printer driver from the Brother website and install it on your computer. Follow the instructions on the download page to complete the installation.
You can now print wirelessly from your computer to your printer.
Frequently Asked Questions
Here are some common questions and answers about the wireless setup of your printer.
Q: How do I print the network configuration page and the WLAN report?
A: To print the network configuration page, open the printer’s front cover and press the Go button 10 times. To print the WLAN report, press the Go button three times.
Q: How do I reset the wireless settings of my printer?
A: To reset the wireless settings of your printer, open the printer’s back cover and press the Go button for 10 seconds. The printer will print the network configuration page, which shows that the wireless settings have been reset.
Q: How do I check the wireless status of my printer?
A: To check the wireless status of your printer, look at the WLAN LED on the printer control panel. If the WLAN LED is off, the printer is not connected to the wireless network. If the WLAN LED is on, the printer is connected to the wireless network. If the WLAN LED is blinking, the printer is in the process of connecting to the wireless network.
Q: How do I troubleshoot the wireless connection of my printer?
A: If you have problems with the wireless connection of your printer, you can try the following solutions:
- Check the wireless settings of your router or access point, such as the network name, the network key, and the wireless mode. Make sure they match the wireless settings of your printer.
- Check the wireless signal strength of your router or access point. Make sure it is within the range of your printer.
- Check the firewall settings of your computer and your router or access point. Make sure they do not block the communication between your printer and your computer.
- Restart your printer, your router or access point, and your computer. This may resolve some temporary issues with the wireless connection.
Q: How do I update the firmware of my printer?
A: To update the firmware of your printer, you need to connect your printer to your computer using a USB cable. Then, you can download the firmware update tool from the Brother website and run it on your computer. Follow the instructions on the screen to complete the firmware update.
We hope this blog post has helped you set up your Brother HL-2270DW printer for wireless printing. If you have any questions or feedback, please leave a comment below.


