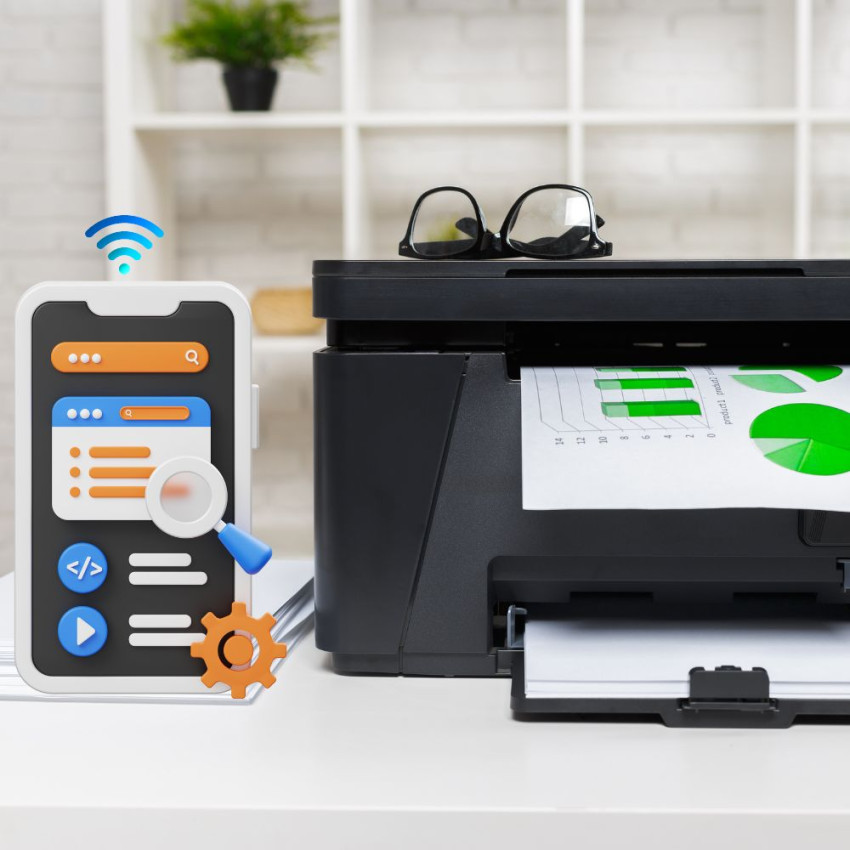
In an era dominated by wireless technology, connecting your printer to WiFi is a game-changer, offering convenience and flexibility. At Hire IT Expert, we understand the importance of a seamless printer WiFi connection, and we're here to guide you through the process.
Why Connect Your Printer to WiFi?
Connecting your printer to WiFi revolutionizes your printing experience, offering unparalleled convenience and versatility. In a world dominated by wireless technology, the decision to go wireless with your printer brings forth a myriad of benefits.
Firstly, wireless printing allows you to break free from the constraints of cables and cords. No longer tethered to a specific location, you can place your printer anywhere within the WiFi range, providing flexibility in your workspace arrangement. This newfound freedom is particularly advantageous in shared office spaces or homes with multiple users.
Moreover, a WiFi-connected printer facilitates seamless printing from various devices such as laptops, smartphones, and tablets. Whether you're working on a document from your laptop or capturing a moment on your smartphone, the ability to print wirelessly enhances accessibility and simplifies the entire printing process.
The convenience extends to collaborative work environments, where multiple users can effortlessly share a single printer without the hassle of physically connecting and disconnecting devices. This fosters a more efficient and collaborative workflow.
In essence, connecting your printer to WiFi transforms it from a traditional peripheral into a dynamic and accessible tool that aligns with the demands of modern, interconnected lifestyles. Embrace the freedom and efficiency that wireless printing offers, making your printing tasks more streamlined and enjoyable.
Step 1: Check Compatibility
Before diving into the connection process, ensure that your printer is WiFi-enabled. Refer to your printer's manual or specifications to confirm its compatibility with wireless networks.
Step 2: Prepare Your Network Information
Gather your WiFi network name (SSID) and password. This information is crucial for establishing a secure and successful connection. If you're unsure, check your router or contact your network administrator.
Step 3: Power On and Configure Your Printer
Turn on your printer and access the settings menu. Navigate to the wireless or network settings, where you'll find the option to connect printer to WiFi. Select your network and enter the WiFi password when prompted.
Step 4: Confirm Connection
After entering the WiFi credentials, your printer will attempt to establish a connection. Once successful, you'll see a confirmation message or a WiFi symbol on the printer's display, indicating a successful connection.
Step 5: Test Your Wireless Connection
To ensure everything is functioning correctly, print a test page from any device connected to the same WiFi network. This step verifies that your printer is ready for wireless printing.
Additional Tips:
Driver Installation: If you haven't installed your printer drivers on the connecting devices, do so to enhance compatibility and functionality.
Firmware Updates: Check for firmware updates for your printer. Manufacturers often release updates that improve performance and security.
Troubleshooting: If you encounter any issues during the process, refer to your printer's manual or contact our expert support at Hire IT Expert.
With this comprehensive guide, connecting your printer to WiFi becomes a breeze. Experience the freedom of wireless printing and streamline your workflow. At Hire IT Expert, we're committed to ensuring your printing experience is as efficient and hassle-free as possible. For more detailed instructions and expert assistance, visit our website.
Make the switch to wireless printing today and unlock the full potential of your printer!