Professional Installation: What to Expect
While some may think about DIY projects, professional installation kind of ensures a more seamless, longer-lasting finish. Here’s a rough outline of how experts handle the whole procedure, step by step.:
1. Surface Preparation
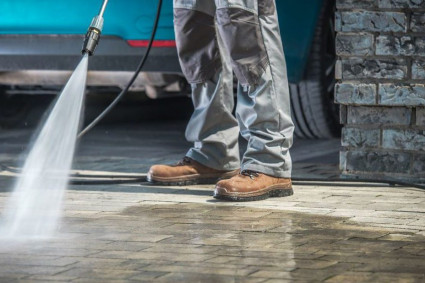
Professionals start by cleaning the concrete surface pretty thoroughly. They use power washing to knock off dirt stains and bits of debris, and it leaves a clean, fresh base. If there are cracks or any uneven spots, those get repaired with concrete fillers. That way, the surface is smooth, level, and looks right. Of course, proper prep really matters, not only for how it looks, but for how long it holds up.
2. Installing a Base Layer
Even over concrete, some cushioning underlay like foam or rubber is added, but it’s kind of more than just extra padding. That layer boosts comfort, so it soaks up impact, and it keeps little imperfections from showing through as much, even if they’re there. The underlay gets properly adhered to the surface for steadiness, not just laid down and left alone.
3. Measuring and Cutting
The team measures the area precisely to figure out how much artificial grass and installation are needed. They cut the turf carefully, trying to align the fibers in the same direction, so it has that natural look. Careful measuring and cutting lead to a tidy, professional result, and honestly, it just looks cleaner, smoother too.
4. Securing the Artificial Grass
After the artificial grass is spread out, it is fastened using mechanical fasteners like landscaping staples, double-sided tape, or specialty adhesives. Over time, this stops moving or lifting. For a smooth appearance, the seams are carefully connected.
5. Final Touches
The edges are trimmed to make for a near-perfect fit. The fibers get brushed upright, so the whole thing has a more natural look. Infill material, like silica sand or rubber granules, can be added to boost stability, improve drainage, and add a bit more realism.
Why Choose Professional Installation?
Some people might try a do-it-yourself setup, but real pros bring the proper tools, the know-how, and the right stuff so the end result looks high quality. They can handle stubborn areas, verify correct adhesion, and help stretch out a long lifespan for your artificial turf.
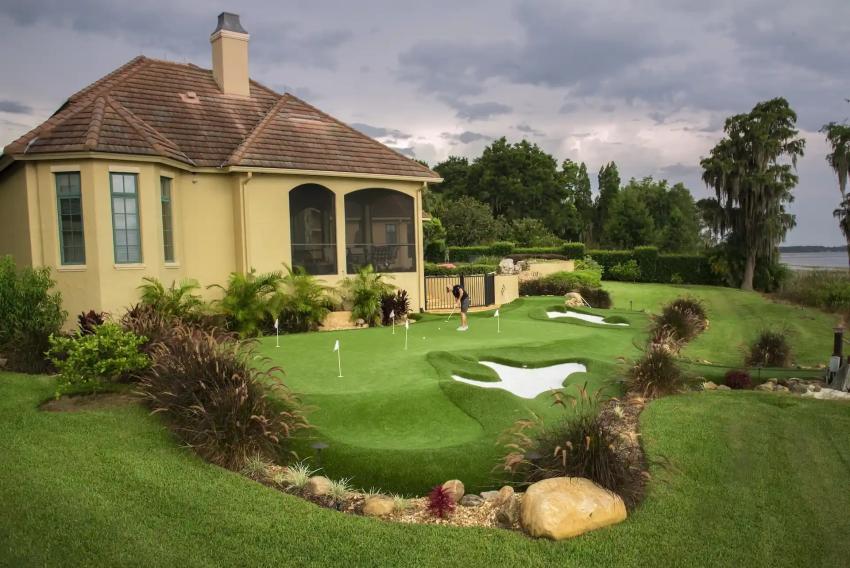
If you are thinking about this change, reach out to a dependable artificial turf installer. They will manage the whole process, so you get a striking, low-maintenance yard that stays good for years. A thick green area is just an install away, truly.